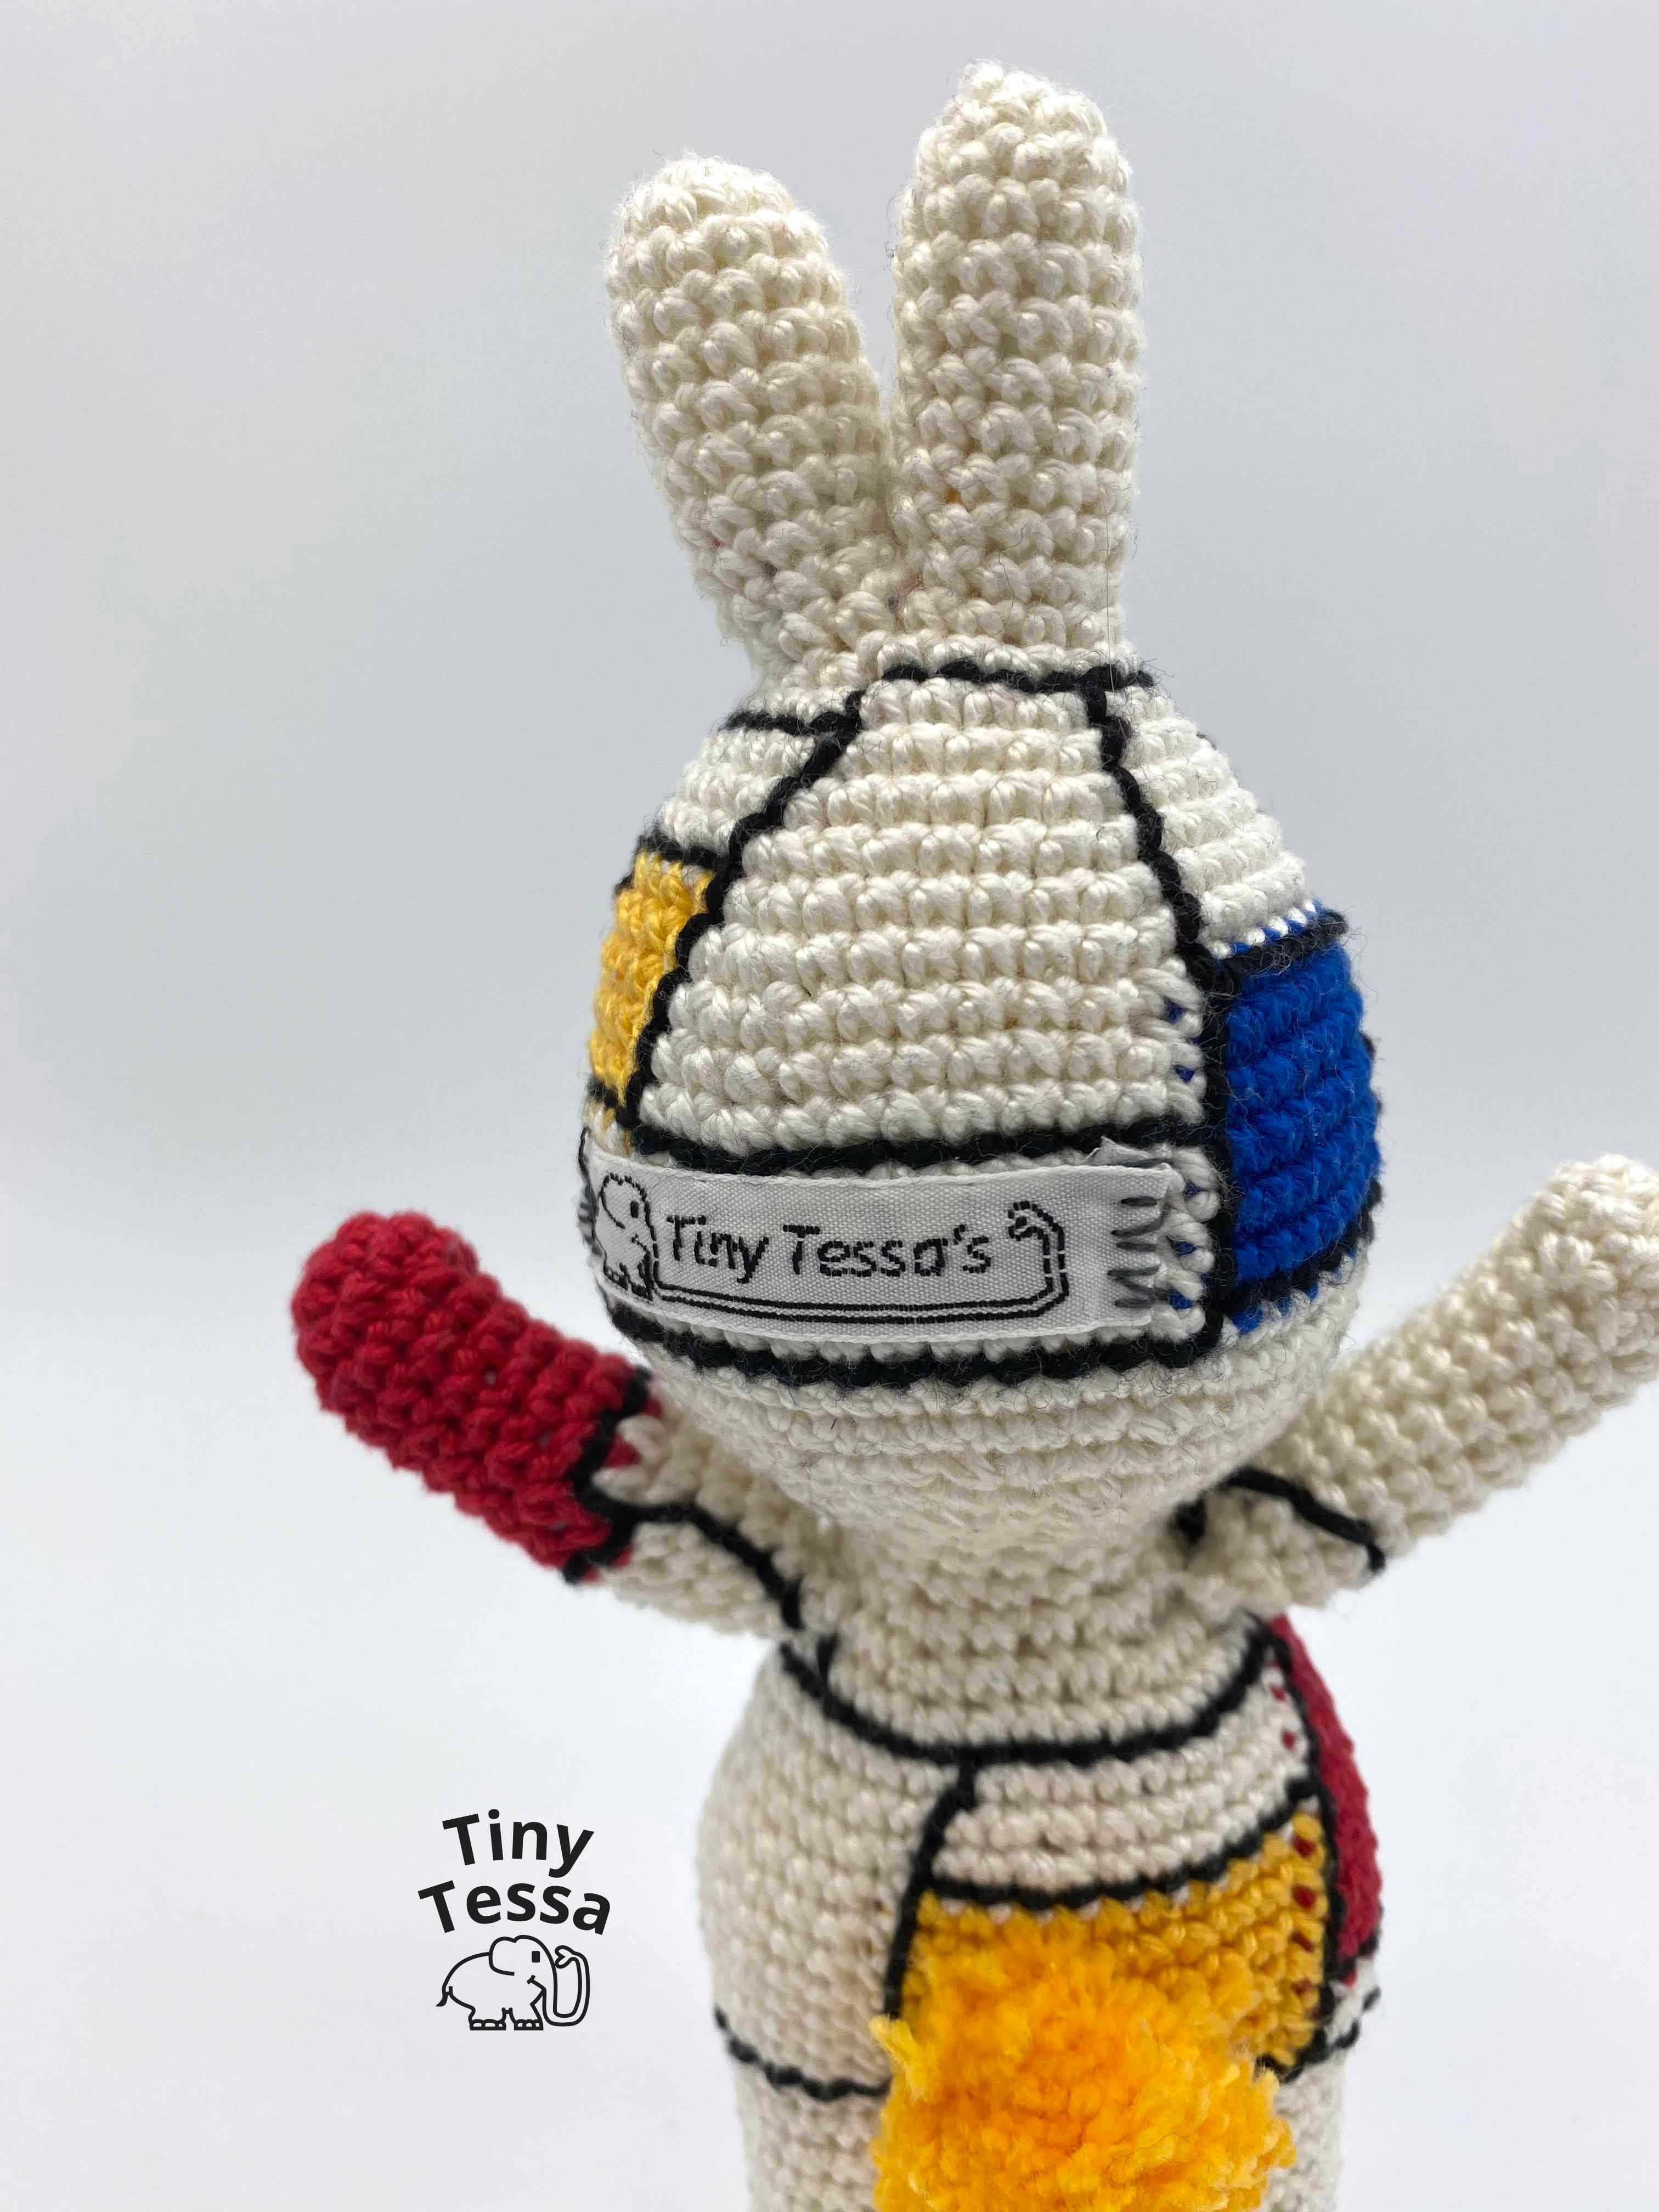
The Mondriaan Bunny
The Mondriaan bunny is one of the compositions of the painter; crocheting with four types of yarn in the body in Red, Yellow, Blue and White, and embroidering black lines to create an abstract appearance with the rectangles and squares. The Mondriaan bunny is not an easy pattern to crochet. In some rounds you have to switch four colors and with all these changes you must make sure that you have smooth transitions between the colors. Futhermore you have to know how to crochet chains & single crochet stitches. The size of the bunny is 19 cm in height and 8 cm in width.
Pattern:
Materials:
- Crochet needle 2,5 mm
- Buy yarn that can be crocheted with a crochet needle of 2,5mm. I always use Katia Capri or Yarn & colors Must-Have. Use yarn in the following colors: White (50 gr), Yellow (10 gr), Red (10 gr), Blue (10 gr), Black (10 gr)
- 2 Safety eyes oval shape 8,5 x 6 mm
- Stuffing for the body
- Tapestry needle
- Pompon maker for 3 cm pompons
- Stitch markers, you can also use a rest piece of yarn that you place in between the stitch.
Before you start with the pattern I would advise to practise the changing of colors to recreate the smooth transistions between colors within one round. I made several versions of the Mondriaan Bunny to see what kind of method worked for me the best, before I finally finished the pattern. In the pattern I describe in a detailed way how you can achieve the same result for the colors.
My design process for the Mondriaan Bunny started with a shape exploration for the overall shape of the bunny. As you can see the first bunny is much bigger than the last versions. This is caused by the type of yarn I used, it was a thicker yarn than I normally use. The second version is a baby rattle, I wanted to make a small piece of the bunny to test the the color changing. Only I was not happy with the ears of the bunny so I changed it into a bear. In this version I also tried out the embroidering for the first time. The third bunny was a try to integrate the ears in the head and body to have one line in the body and I really liked it. I embroidered the colors on the body to see where the red, yellow and blue blocks could be placed. In the last two bunnies I integrated all the tips and tricks of the first three bunnies in one pattern and try to replicate it multiple times. You can also try it out when you buy the pattern in my etsyshop.
